




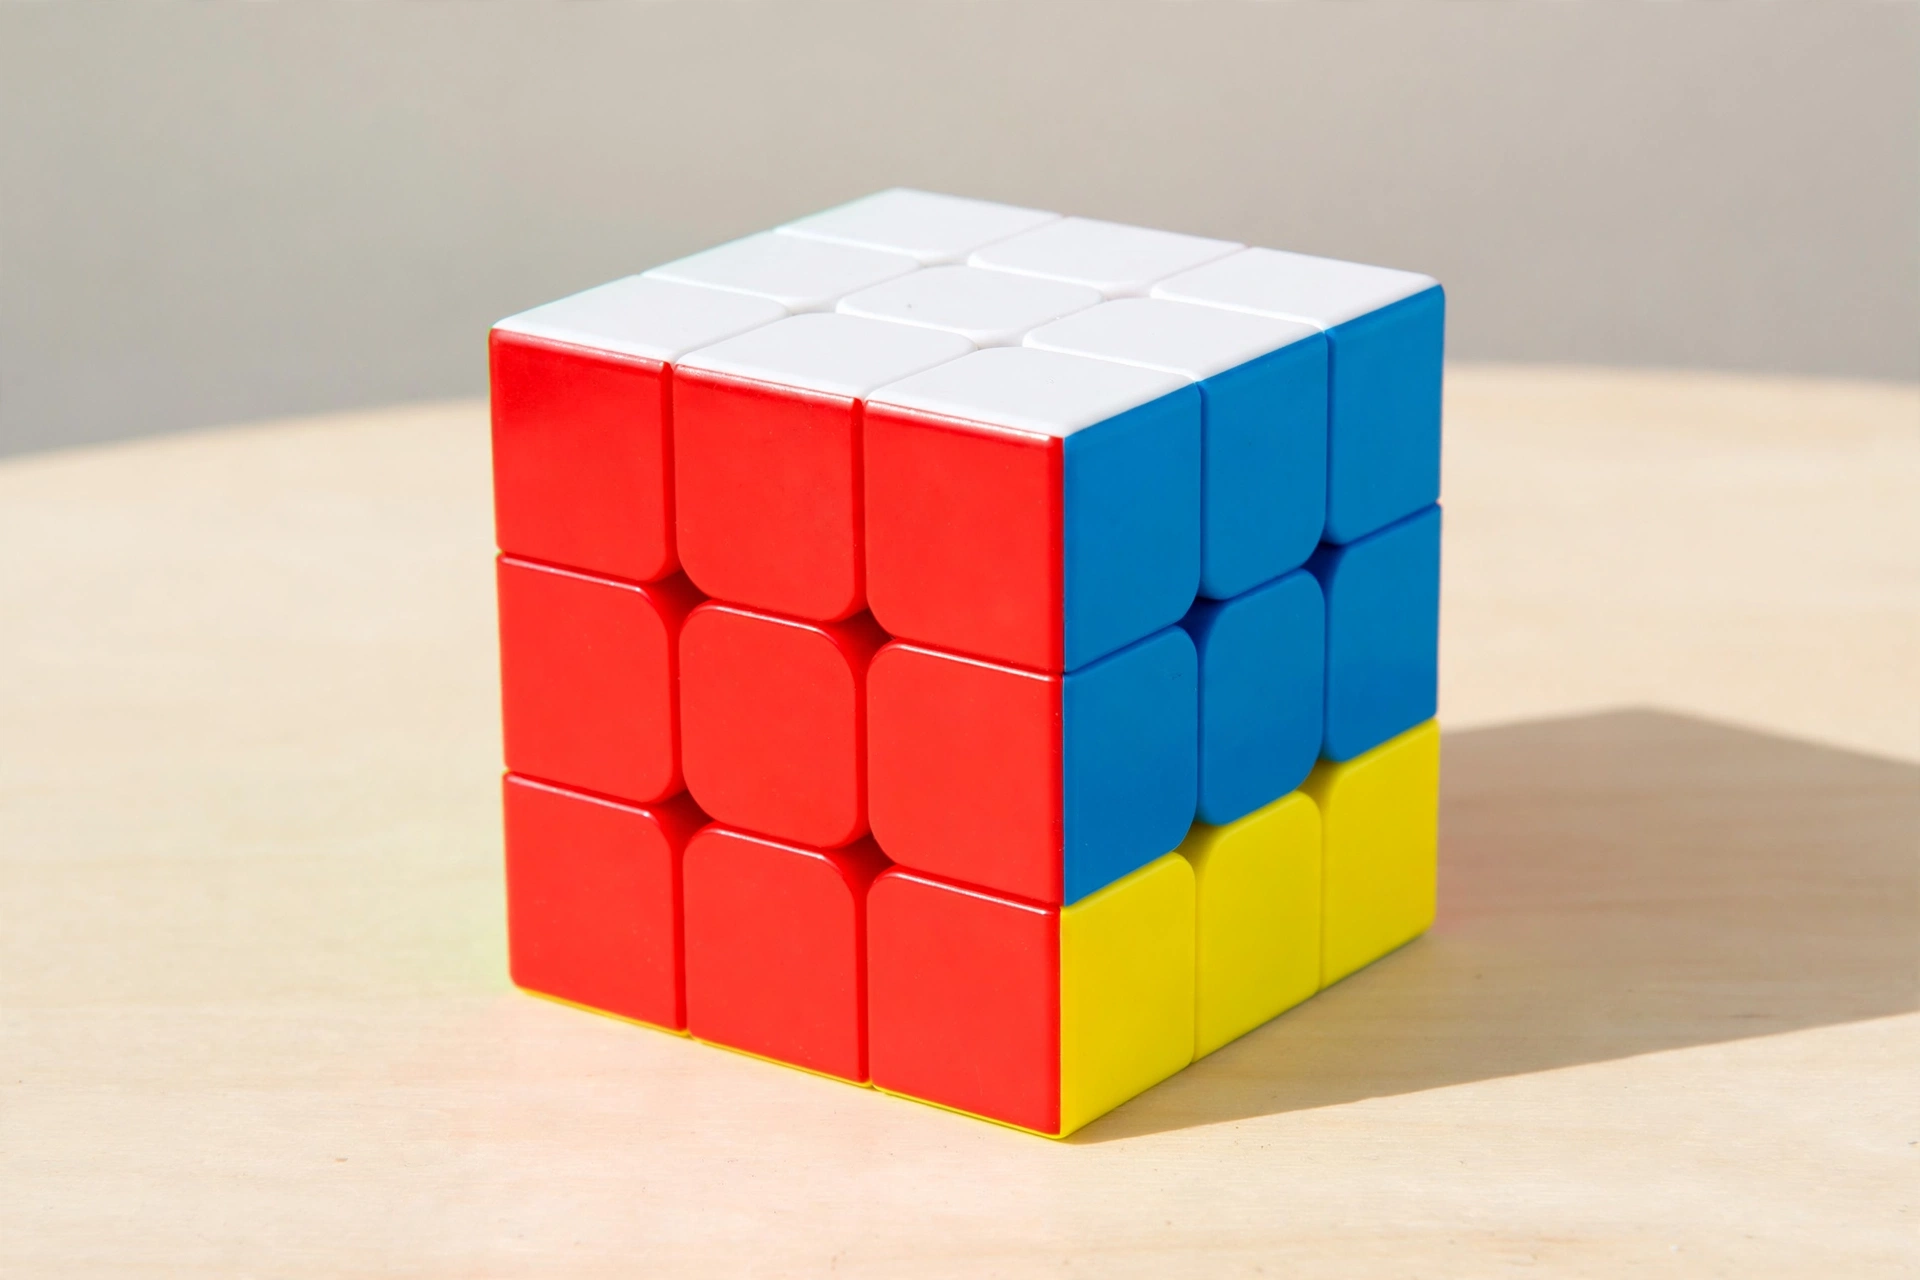
Learning how to solve a Rubik’s cube feels impossible the first time you scramble one. The colors go everywhere, and every turn seems to undo the last one. It is not impossible, though — it is a sequence of small steps, and once you learn the order, the cube starts to make sense. The cube […]
Learning how to solve a Rubik’s cube feels impossible the first time you scramble one. The colors go everywhere, and every turn seems to undo the last one. It is not impossible, though — it is a sequence of small steps, and once you learn the order, the cube starts to make sense.
The cube was invented by Ernő Rubik in 1974. The method below is called layer by layer: you solve the bottom layer, then the middle, then the top. You only need a handful of short move sequences, called algorithms, and a little patience.
Learn the Notation First
Each letter stands for one face of the cube:
- U — Up (top)
- D — Down (bottom)
- L — Left
- R — Right
- F — Front
- B — Back
A letter alone means turn that face one quarter-turn clockwise, as if you were looking straight at it. A prime mark, like R’, means counterclockwise. A 2, like U2, means a half turn.
So R’ D’ R D means: right counterclockwise, bottom counterclockwise, right clockwise, bottom clockwise. Say each move out loud at first.
Step 1: The White Cross
Hold the cube with the white center piece on top. Your goal is a white cross on top, with each white edge also matching the side center next to it. A white edge beside a red center, for example, belongs on the red side.
There is no algorithm here. Find a white edge, bring it to the top layer, line it up above its matching side color, then turn that side twice to drop it in. Repeat for all four edges.
Check each side before moving on. This slow, ordered thinking also helps when you learn how to write a book.
Step 2: The White Corners
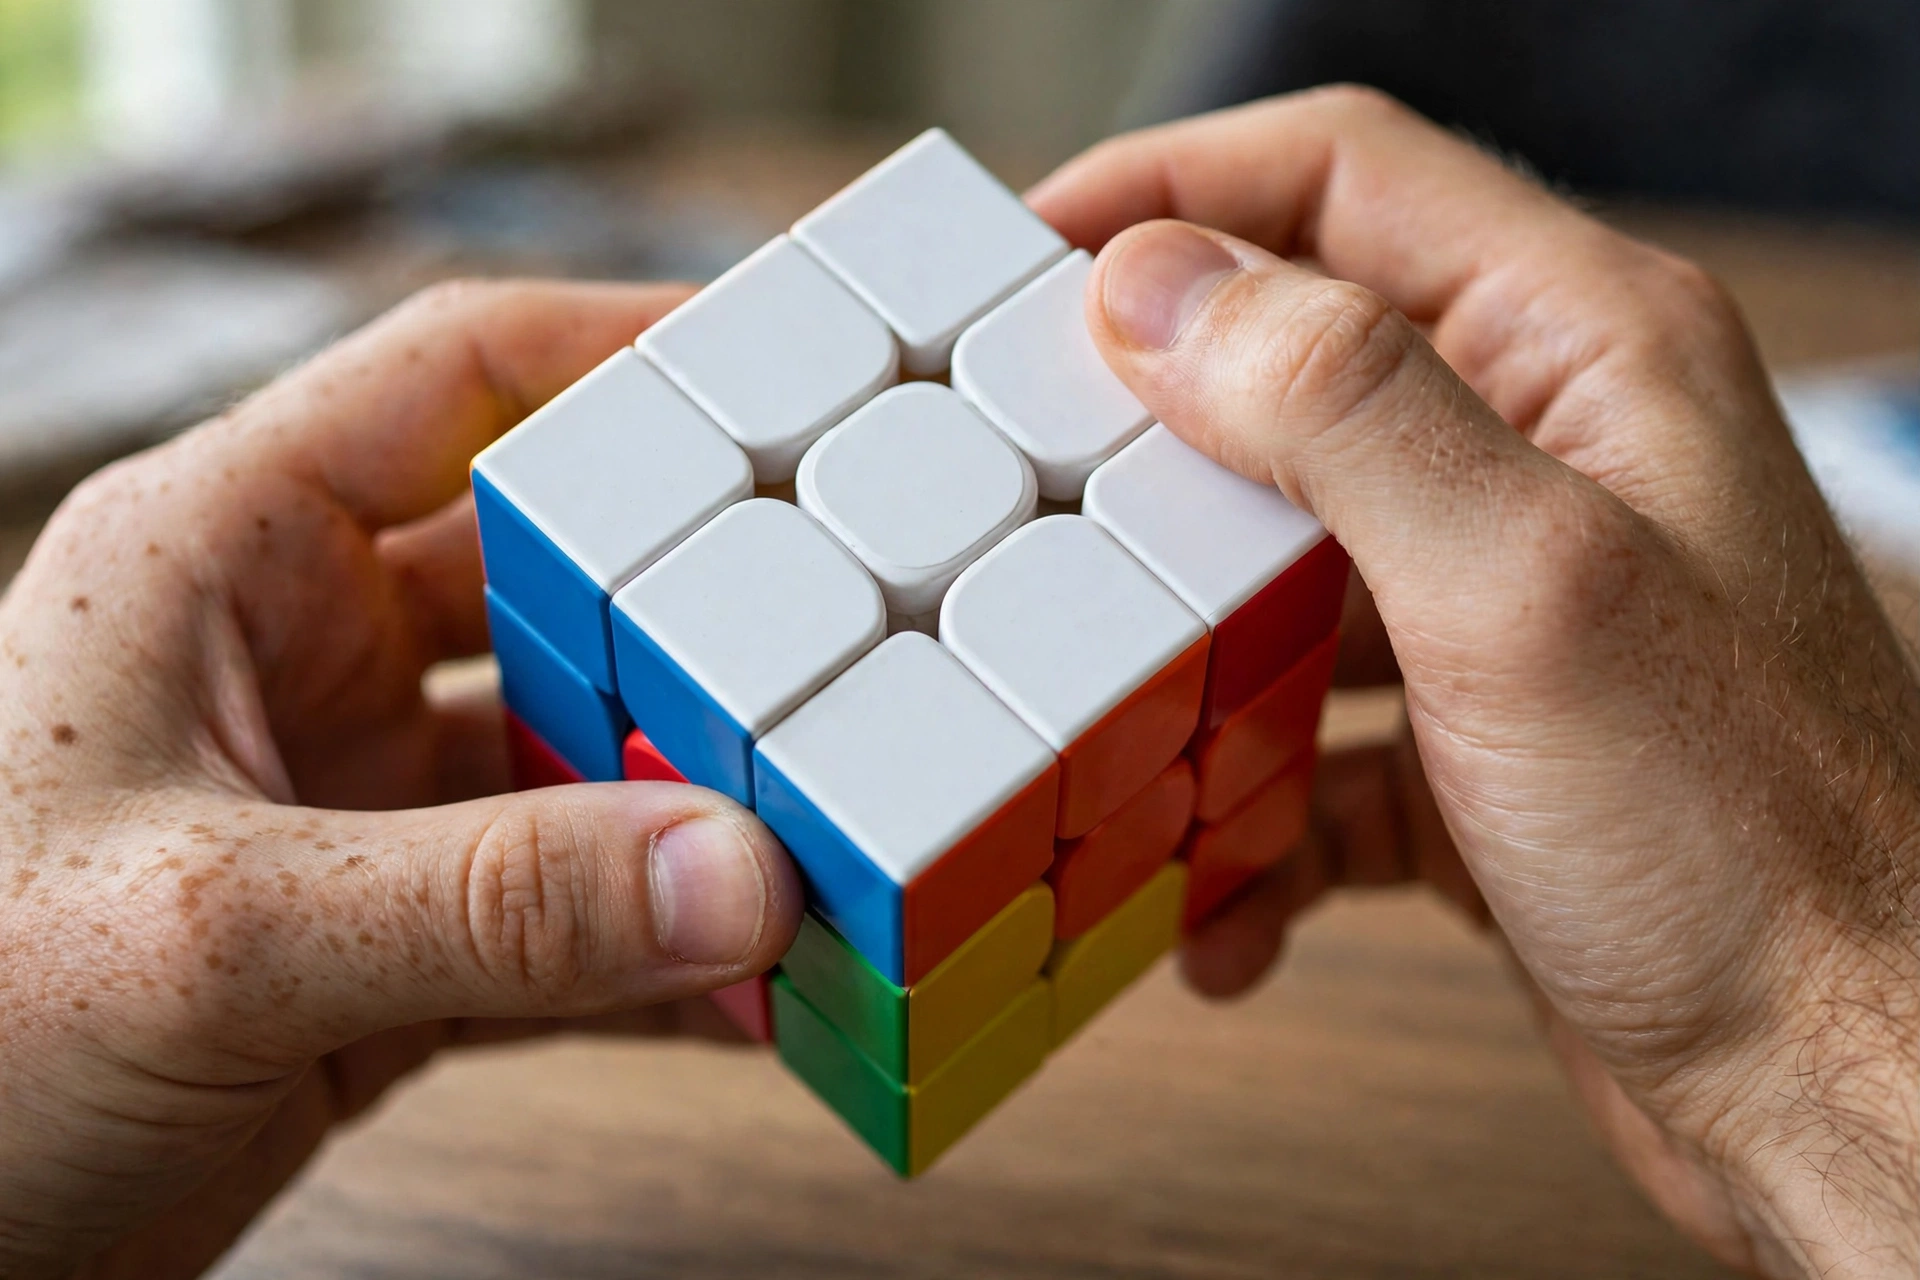
Now fill in the four white corners. Hold the cube with white on the bottom, and find a corner with white on it in the top layer. Move it directly above the spot where it belongs, between its two matching side colors. Then repeat this sequence until the corner drops in with white facing down:
R’ D’ R D
You may need to repeat it two, four, or six times for one corner. That is normal. Do all four corners the same way, and your first layer is done.
Step 3: The Middle Layer
Flip the cube so the solved white layer is on the bottom. Look in the top layer for an edge piece with no yellow on it — that piece belongs in the middle layer.
Line it up with the center color it matches, then check which way it must go. If it goes right, use:
U R U’ R’ U’ F’ U F
If it goes left, use:
U’ L’ U L U F U’ F’
Repeat for all four middle edges. If an edge is stuck in the wrong spot, run either sequence once to pop it out, then place it correctly. Order matters here, much like making pasta.
Step 4: The Yellow Cross
Turn the cube so yellow is on top. Ignore the corners for now. You will see a dot, an L-shape, or a straight line. Hold the line horizontally, or put the L-shape in the top-left, then do:
F R U R’ U’ F’
Repeat, re-checking each time, until the cross appears. Ignore the messy corners for now.
Step 5: The Yellow Corners
Now get all four top corners showing yellow on top. Hold the cube so a corner that already shows yellow on top sits at the front-right of the top face, then do:
R U R’ U R U2 R’
This sequence, called Sune by cubers, twists the corners around. Repeat it as needed, turning the top layer to bring a new unsolved corner to the front-right each time. Stop once all four corners show yellow on top, even if the side colors do not match yet.
Step 6: Place the Final Pieces
Two jobs remain: place the yellow corners, then the yellow edges.
For the corners, hold the cube so a correctly placed corner sits at the front-right, then do:
U R U’ L’ U R’ U’ L
Repeat, turning the top layer between repeats, until all four corners sit in their correct positions.
For the edges, use:
F2 U L R’ F2 L’ R U F2
Repeat it as needed, turning the top layer between repeats, until every edge matches. This sequence cycles the edges, so a second or third repeat will bring them home.
Tips for Your First Solve
Keep the cube in the same orientation while you run an algorithm — turning the whole cube halfway through is the most common beginner mistake.
Go slow — your first solve might take 20 minutes, and that is fine. Write the sequences above on a card and keep it beside you. If you get stuck, back up one step rather than starting over.
Frequently Asked Questions
How long does it take to learn how to solve a Rubik’s cube?
Most beginners learn the layer-by-layer method in a few practice sessions spread over a week. Your first full solve may take 15 to 30 minutes. With practice, many people get under five minutes.
Do I need a special cube to start?
No. Any standard 3×3 cube works. A smooth-turning cube helps, but an ordinary store-bought cube is fine for learning. Avoid very stiff cubes that catch on every turn, since they make practice frustrating.
What is the easiest method for a beginner?
The layer-by-layer method in this guide. It uses only a few short algorithms, and each step has a clear visual goal, so you always know what you are trying to fix.
Why does R’ D’ R D need repeating for white corners?
The sequence moves one corner piece through a small cycle while leaving the rest of the cube mostly untouched. Repeating it walks the corner into place one twist at a time, which is why two, four, or six repeats are all normal.